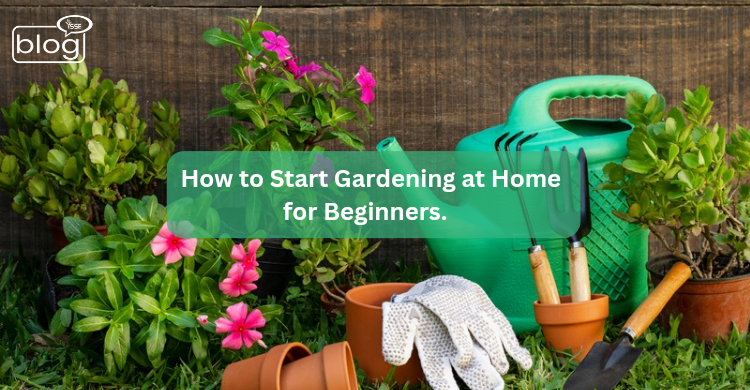
Starting a garden from scratch as a beginner can seem challenging. One of the best ways to simplify gardening is to break your project down into simple actions.
Whether you want to start a vegetable garden, a flower garden, or maybe even both, planting plants in your house, doing gardening, and setting up a garden — all these activities are very easy, you just need the proper guidance. Soon, you will be enjoying delicious flavors and colorful blooms that you grew yourself.
If you haven’t planted a single plant yet, I suggest starting with just two. Avoid planting 10, 12, or 15 plants initially because mistakes are common in the beginning. A single mistake could spoil all your plants. Start small, let your plants adjust, and gradually increase their number. As the saying goes, “mustard does not grow on the palm.”
Key Points for Beginners
- Point One: If you decide today to start planting but feel unsure or lack time to care for them, it’s okay. You don’t need a big garden. A windowsill, your entrance gate, or even near your refrigerator can work. Just avoid dark places without sunlight, as sunlight is essential.
- Point Two: Every plant has unique needs. For instance, some need limited sunlight, while others, like hibiscus, thrive on four to five hours of direct sunlight daily. Tulsi also requires plenty of sunlight. Before buying plants, observe how much sunlight your chosen spot gets and pick plants accordingly.
- Point Three: Plants can be grouped into three categories based on sunlight needs:
No direct sunlight: Monsteras, money plants, and snake plants need light but not direct sunlight.
1–3 hours of sunlight: Lucky bamboo, jade plants, and aloe vera thrive with limited sunlight.
4+ hours of sunlight: Hibiscus, marigolds, tulsi, and vegetables like coriander and spinach need extended sunlight.
- Point Four: The direction your house faces affects plant growth. East- or west-facing areas are better, but even in limited sunlight, you can succeed by choosing the right plants.
Gardening Basics in 8 Steps
- Step 1: Know Your Zone
Understanding your USDA hardiness zone is crucial. Search for your zone by entering your zip code online. This helps determine the plants that will thrive in your climate.
- Step 2: Types of Plants
Seasonal bloomers: These bloom radiantly for one season but don’t reappear
next year (e.g., petunias).
Long-lasting plants: These resprout yearly but bloom for a shorter period (e.g., daylilies).
Shrubs: Permanent woody plants that can be deciduous or evergreen (e.g., hostas).
Trees: Start small and grow into large specimens over time.
- Step 3: Watering System
Choose between hand-watering and an irrigation system. In hot climates, a drip system is efficient. Cooler zones with more rain may allow hand-watering.
- Step 4: Avoid Overwatering
Most plants need less water than you think. Overwatering can harm drought-resistant plants like bougainvillea.
- Step 5: Pest Management
Check leaves for signs of pests. Your local garden center can help diagnose issues and suggest solutions.
- Step 6: Fertilization
Plants need feeding. Flowering plants like Supertunia Vista Bubblegums may require weekly fertilizing, while some perennials need it only once or twice a year.
- Step 7: Keep a Plant Journal
Track bloom times, fertilization schedules, and pruning needs in a journal for easy reference.
- Step 8: Essential Tools
Spade: For digging and trenching.
Gloves: To protect your hands.
Hand trowel: For small planting tasks.
Pruning snips: For trimming and shaping.
Rake: Levels soil and mulches raised beds.
Watering can: Essential for seedlings.
Soil enrichment and Garden boxes
Soil enrichment: Build a compost pile with household and garden waste. Use pallets for structure and maintain layers of green and brown materials to create nutrient-rich compost.
Garden boxes:
Use heat-treated boards to create a raised bed.
Add cardboard to suppress weeds, then top with 15 cm of organic compost.
Plant immediately into Organic fertilizer. After harvesting, let the leftover roots naturally break down and improve the soil.
By following these steps, you’ll be on your way to creating a healthy, result-oriented
garden in just a few months! Happy gardening!
To read more blogs, Click here
Writer,
Anika Sharmila
Intern of Content Writing Department
YSSE

